My kids have been going crazy about video games lately. They want to play PS4, PS3, Nintendo Switch, etc all the time! I figured, why not try to combine all of that into one device, it will save a ton of space in the entertainment center…
So, that’s what I went and did!
Materials:
— Fractal Design Core 500 ($74.99 https://amzn.to/2yGv0wx)
— EVGA 650W B3 80 Plus Gold Modular Power Supply ($69.99 https://amzn.to/2yCZyiB)
— 2 x Team Group L5 1TB SSDs ($172.99 https://amzn.to/2CLQ5tA)
— Team T-Force Vulcan Gaming DDR4 3200 RAM (~$150 https://www.newegg.com/Product/Product.aspx?Item=N82E16820331172)
— Samsung 970 EVO M.2 250 GB SSD ($92.99 https://amzn.to/2pVsYV4)
— Gigabyte GA-AB350N Gaming Wifi Mini ITX motherboard ($109.99 https://amzn.to/2pRJAx2)
— AMD Ryzen 7 2700X ($294.98 https://amzn.to/2CNdc7t)
— EVGA GeForce 1080 Ti Founders Edition (~$450 https://amzn.to/2pRzVGN)
— EK Fluid Gaming 240G Water Cooling Kit ($239.99 https://www.ekfluidgaming.com/ek-kit-a240g)
— EK Vertical Mount kit ($14.99 https://www.ekfluidgaming.com/ek-uni-pump-bracket-120mm-fan-vertical)
— EK aluminum fittings: 2 x 45 elbow1 x 90 degree elbow, 1 x GPU rotary terminal, 1 x T-splitter (https://www.ekfluidgaming.com/parts)
— Pair of Bitdo SN30 Bluetooth Controllers ($44.99 https://amzn.to/2CM4t5q)
Total Cost New: $1,971,83
Used parts and searching for deals will reduce cost
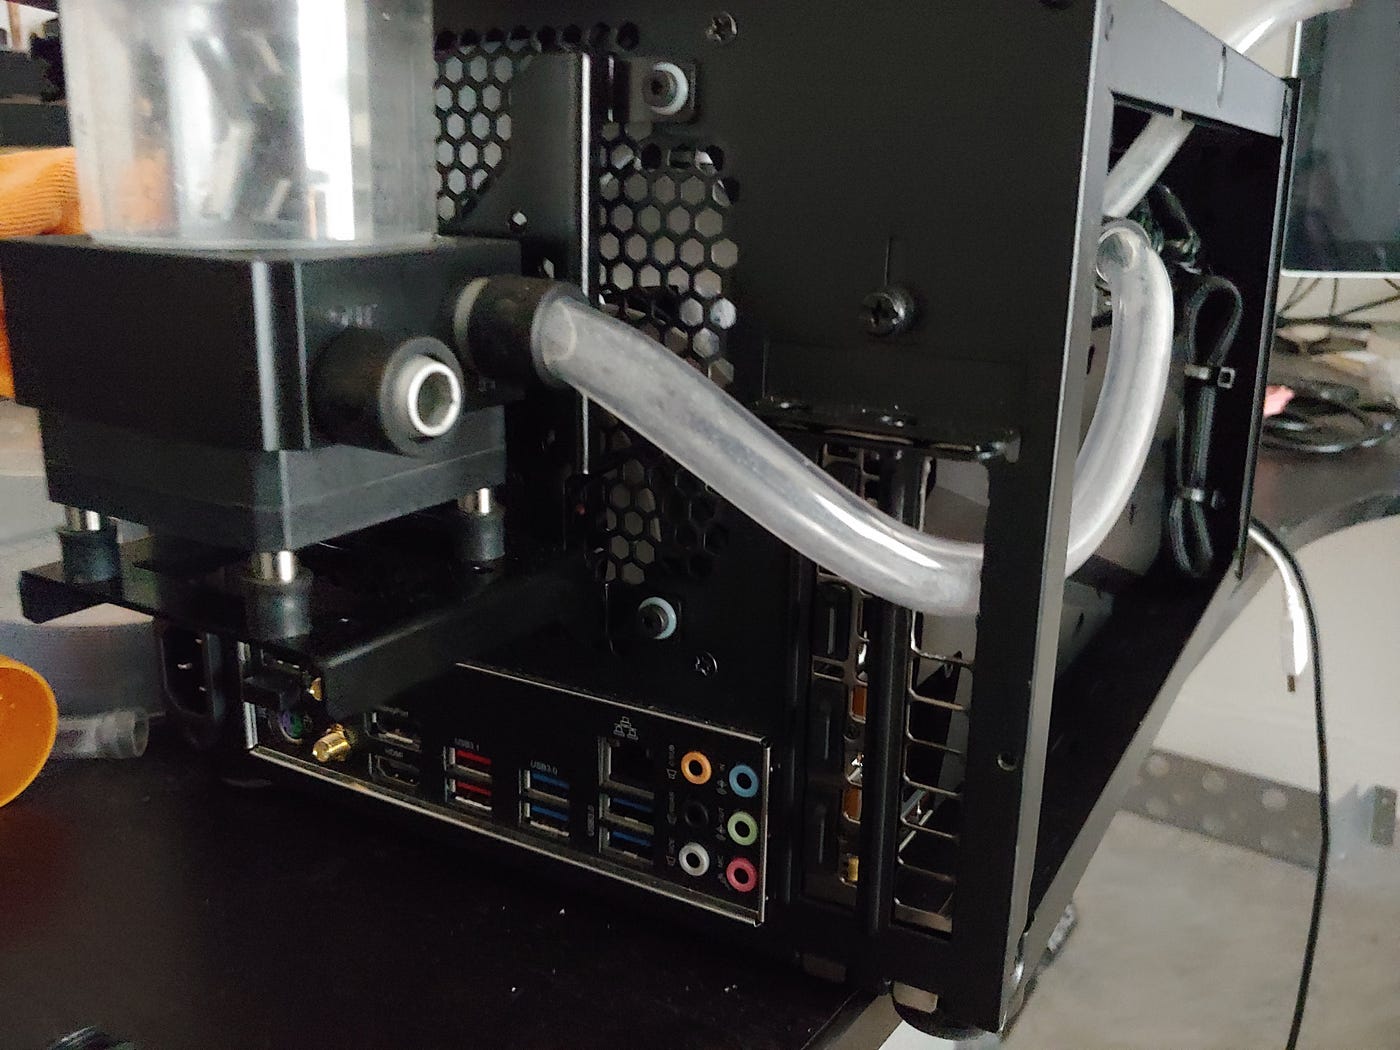
The setup of the computer was very straightforward. Remove the original cooler mounts from the motherboard, install EK mounts for the aluminum block, install processor and RAM, then install the motherboard into the case. Don’t forget to put the IO shield in first! Next, we install the water block on the graphics card. After installing the card into the case we need to plan out the runs and get the cooling installed. Yes, you can do custom loops in this case. You need the vertical mount to install the pump/reservoir combo outside the case on the rear fan mounts. I use a dremel to remove some of the metal on the vent from the GPU blower and route my tubing through there.

Once we have everything set up, the loop all ready, and the system booting, it is time to decide on OS. My preference was to use Arch but with the gaming for the kids, I think Windows 10 is the best choice (this is only because I don’t want to have to test Steam Play or DXVK for every game they want to play… caveat: I think this is likely the best choice in the near future). For the HTPC part, I went with Kodi. I installed PlexKodiConnect, and wrote a few custom scripts to run Sling as well as a few other simple apps that don’t yet have plugins (these will be on my github page github.com/captainhooligan). For their games, I have the Steam Plugin as well as the BigBox plugin. Launchbox is amazing if you want to set up a gaming PC that is connected to your TV. You can set it to run on boot and everything is seamless! For the emulation, there is nothing better than RetroArch. It covers most of the consoles we are playing minus PS2, PS3, and Wii U. For those, I went with RPCS3 for PS3, PCSX2 for PS2, and Dolphin for Wii U. I didn’t work too hard at getting the dolphin core in RetroArch to run Wii U games, but I’m sure it can be done. The external dolphin emulator works great and can easily be integrated into LaunchBox. There are some tweaks that need to be done for each one and the community forums for each are very well documented.
Notes: The EK 240G is an amazing product! For the price, there is absolutely no reason to not include it in any build.
With everything installed and running, it’s time to overclock and test some games! Benchmarks coming in part 2