I’m going to talk a bit about aquaponics and why I care about it. First, let’s talk about what is aquaponics. The definition: Aquaponics — a system of aquaculture in which the waste produced by farmed fish or other aquatic animals supplies nutrients for plants grown hydroponically, which in turn purify the water. I think that’s pretty self-explanatory, if not, I will be sure to link a few articles at the end. So, why do I care? Well, it is because food independence is a big deal for me and I decided to convert my current greenhouse into an aquaponic one. Here’s the story…
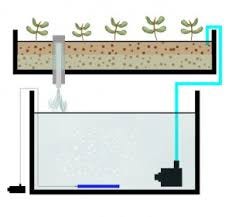
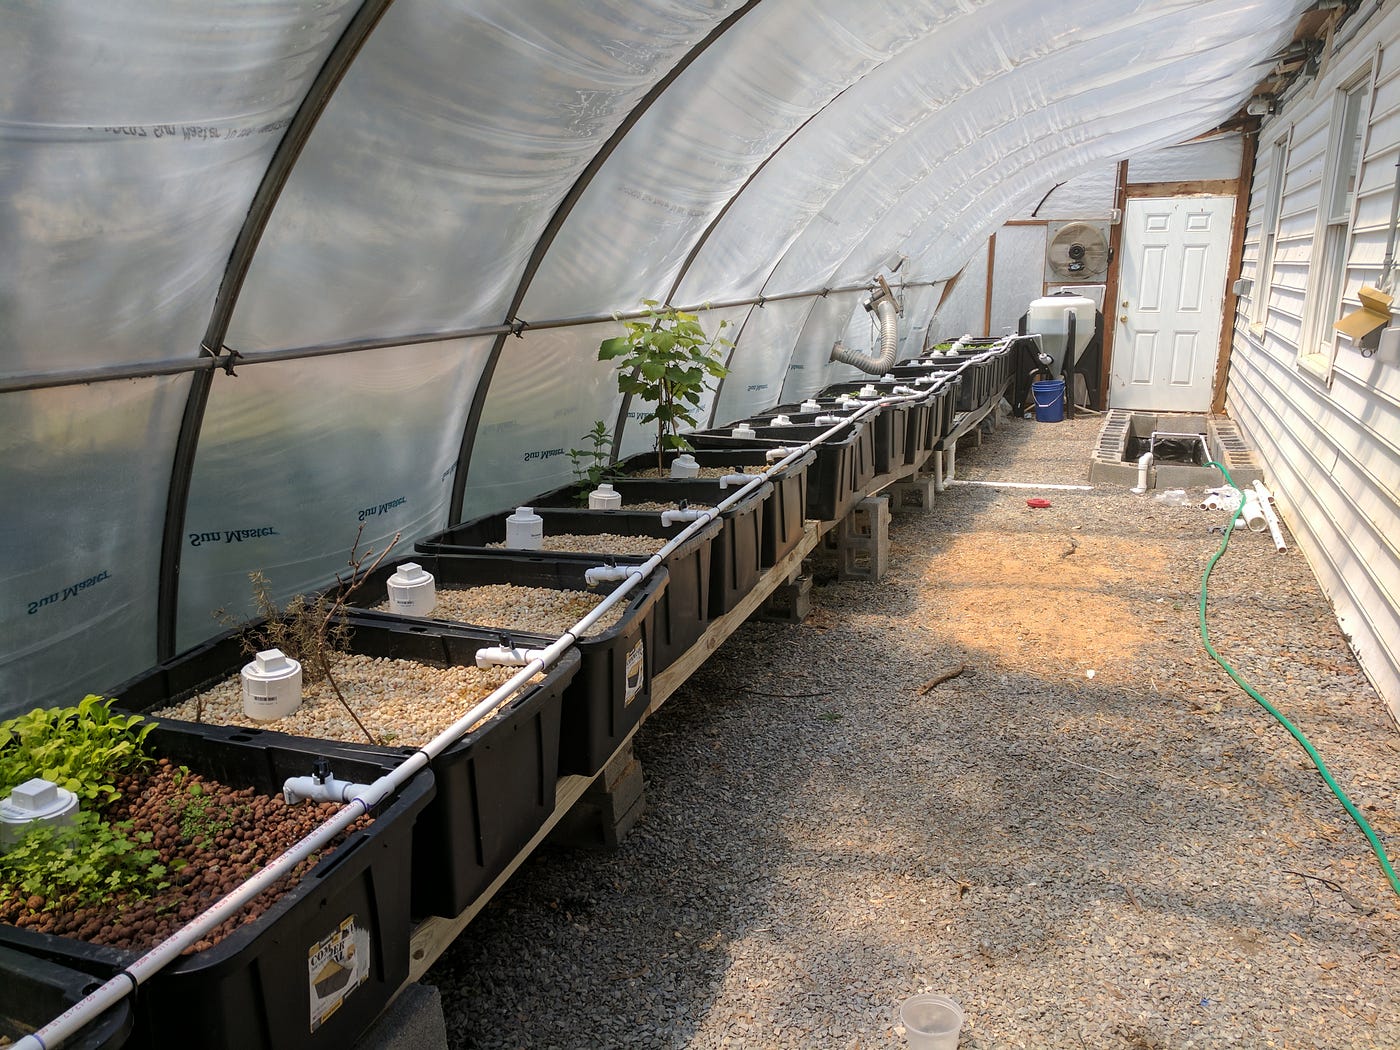
First, I had to decide what I was planning on growing, what kind of fish, and how I was going to accomplish all of this. To start, I took inventory of scraps I had around the farm. We recently rebuilt our barn and some plumbing throughout the house which gave me quite a bit of scrap wood, cinderblocks, and PVC. That was a great start! From there I decided an ebb and flow or flood and drain setup worked best to start. How this works: water from the fish tank is pumped into the grow bed and then drained after reaching a certain point. This is done either by another pump that is actuated by a switch or a siphon of some kind. I chose to use a bell siphon.
Let’s first take a look at how this whole thing was configured in the first place. We had a lot of irrigation lines and sprinklers to start seedlings. For the first two years, I would start hop rhizomes and other plants prior to transplanting out in the fields. This worked quite well.
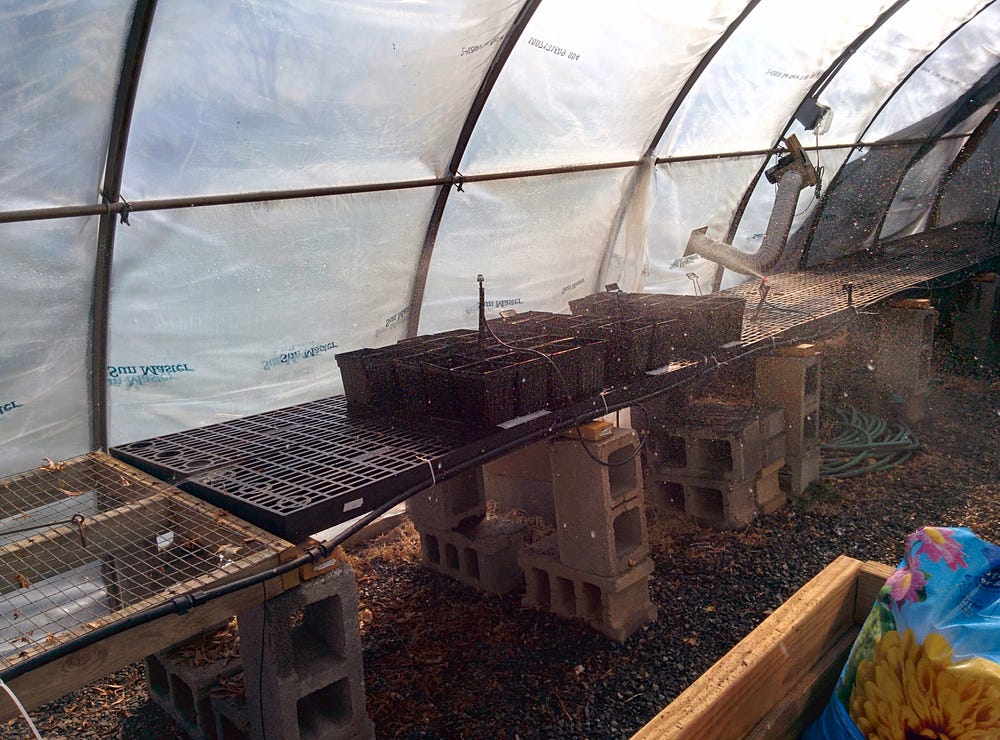
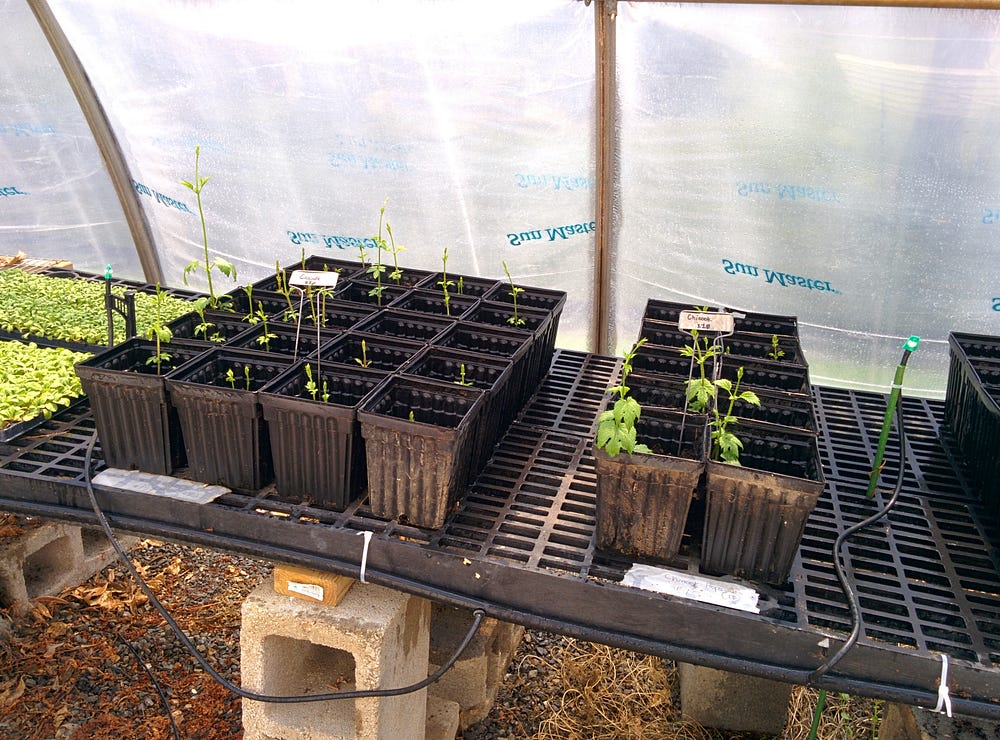
We had quite a bit of space and material to work with. From here I had to decide how to build the whole thing. I mapped out the greenhouse and based on the items I had, I decided to dig a sump that was 4 feet deep by 10 feet long and 2 feet wide. This gave me about a 600 gallon sump/pond. With 600 gallons I could easily run 20 or so grow beds that are 24 inches x 36 inches x 13 inches. Once they were all placed I marked it out on the ground and got to digging.
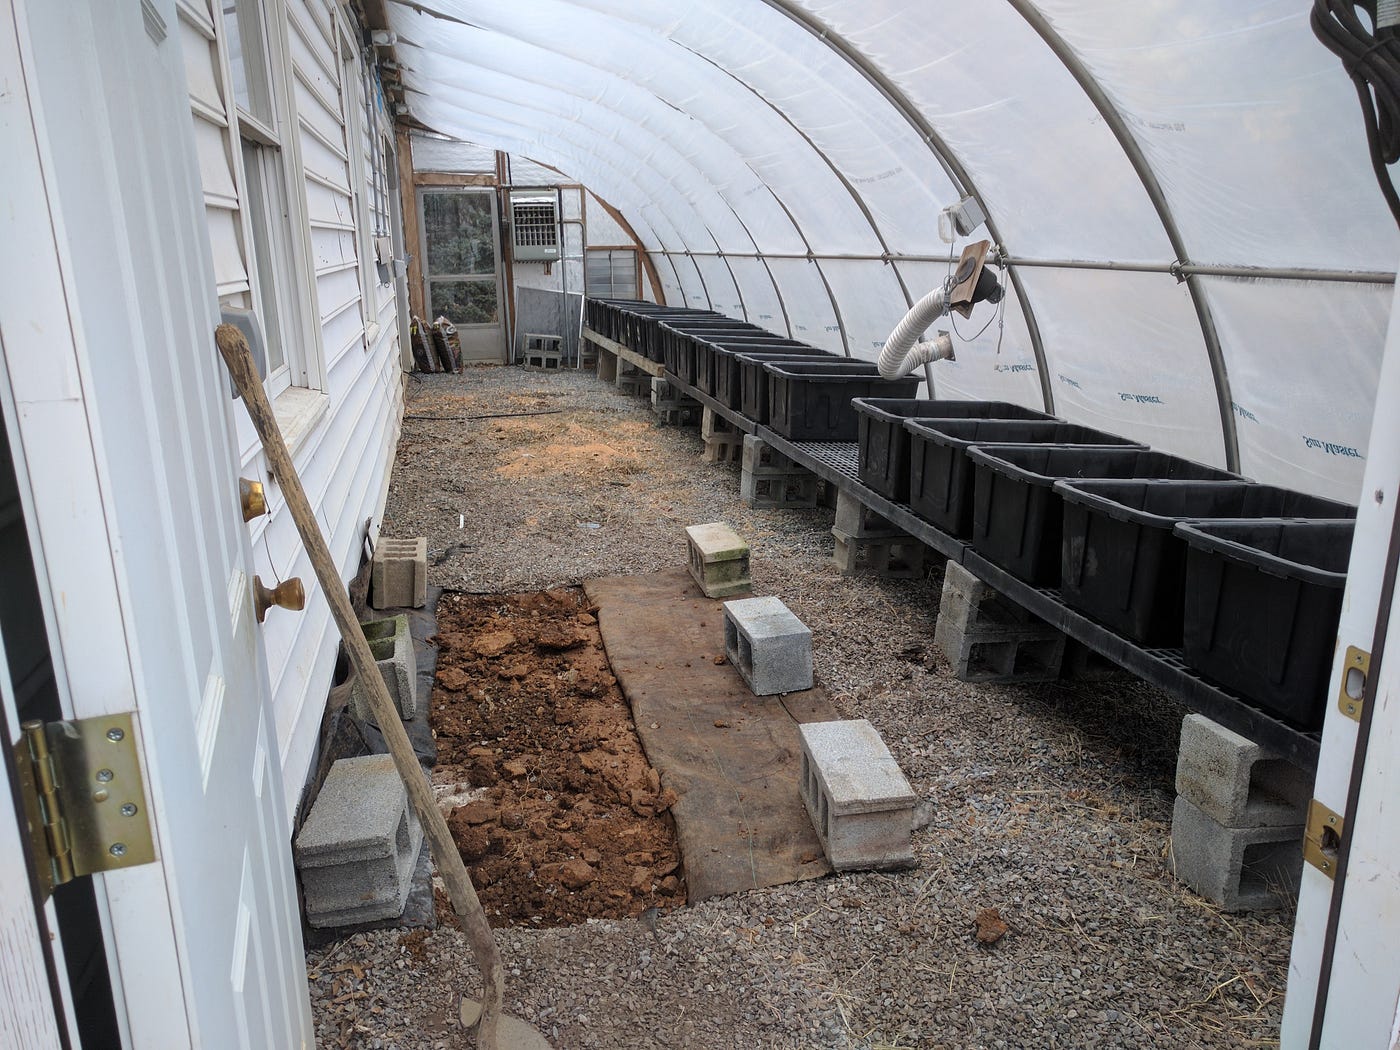
Hand digging the pond/sump was no easy task. The ground was all clay and full of large rocks. Once completed, it looked great! From here I used an old cone tank I previously used for homebrewing to build a swirl filter. After doing some calculations to decide the flow rate of the pump I got to plumbing. The pump was setup to recirculate some of the water to the other side of the pond for surface agitation and to create a current, while the majority went into the swirl filter. This is very much less than ideal but due to the limits of pipe I had (again, this was all made from scraps) it was what I went with. All the beds were plumbed and rocking! Within a few weeks we had growth and everything looked amazing. I transplanted some tilapia fingerlings into the pond after cycling the system for 4 weeks or so and things were going great!
Here’s where the automation came in. I figured why not setup a way to monitor water quality, flow rates, temperatures, etc. Well, I grabbed an arduino, a raspberry pi zero, and all the sensors I could find. With the items I had lying about in my office I setup a DHT11 to monitor the air temperature and humidity, an EC monitor, a pH monitor (I had both of these from previously trying to automate pH and EC adjustments in homebrewing), a DS18B20, and an SF800. I initially wired these all up and connected to the arduino and an I2C 16x2 display. This would scroll the information for me and I could easily walk in and see how everything was going. This wasn’t enough for me. In came the Pi Zero. I connected the arduino to the Pi using an OTG cable and set the Pi to pass information over mqtt. I setup Home Assistant previously to manage home automations (that’s coming in another post). I created a tab in Home Assistant just for the greenhouse that would provide live updates of the readings. I then added a camera to the Pi and some OSRam lightify bulbs (I’m not sure where these came from but I don’t recommend). The greenhouse was able to provide live data and the lights were able to be remotely managed by home assistant or the OSRam Lightify cloud application.
I have since taken out the Pi and disconnected the arduino. This is mostly because it was put together without prior thought and I’d really like to do something more professional. There will be a follow up to this with code and video showing the upgrades.
Notes: OSRam lightify is NOT something I would ever suggest. The lights use Z-wave, which isn’t my first choice but honestly, if someone wants to replay packets and turn on and off lights in a greenhouse I don’t care. My issue is the controller. It is a very basic device that is setup through their app, much like most IoT devices, and connects to local wifi. It is impossible to use it in a local only setup. I had to set special firewall rules to disable the information it was constantly sending out. Home Assistant came in very handy with allowing me to control with only local network access instead. Anyone who is into home automations should really take a look (homeassistant.io). It is a great piece of software that is 100% open source.
Links:
What is Aquaponics — https://www.theaquaponicsource.com/what-is-aquaponics/
Home Assistant — https://www.home-assistant.io/